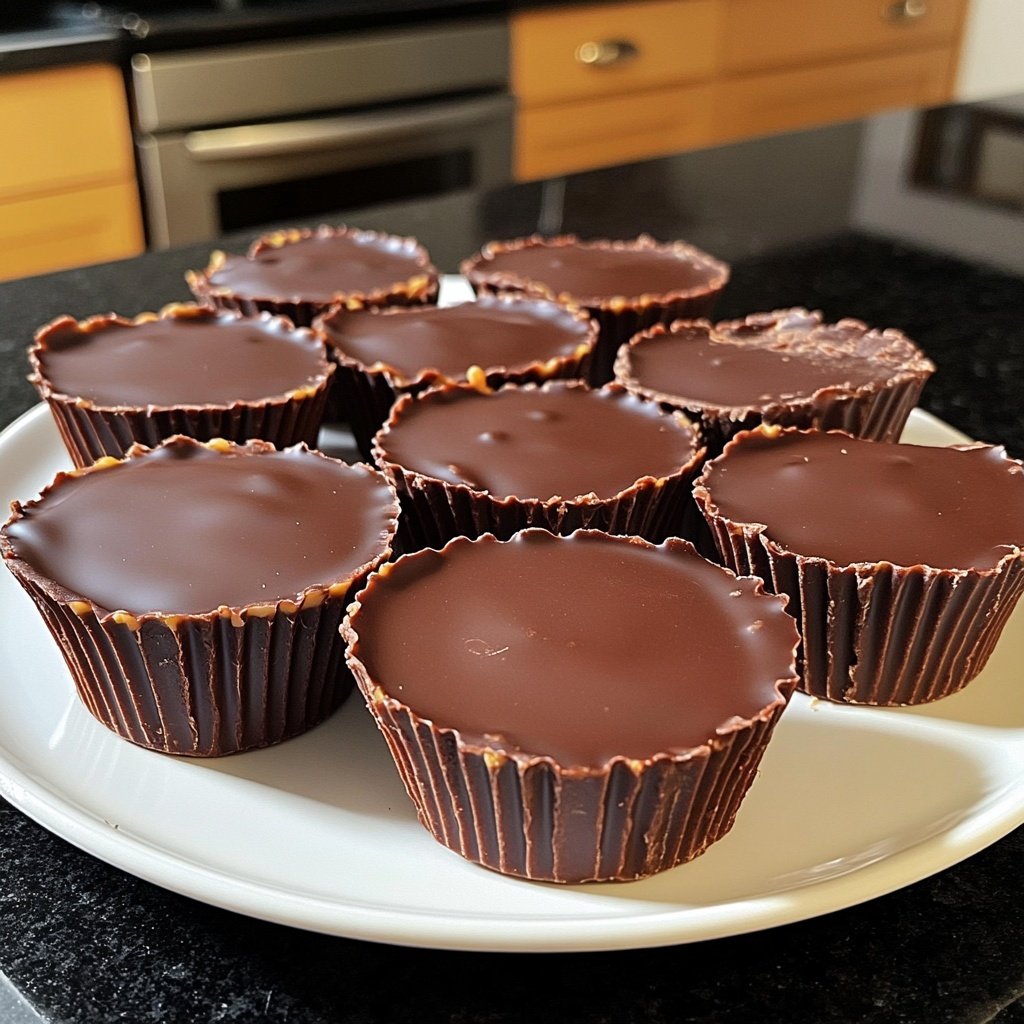
Homemade Peanut Butter Cups with Coconut Oil
Uitgelicht onder: Zelfgebakken Favorieten
I love making these Homemade Peanut Butter Cups with Coconut Oil because they combine rich flavors with a wholesome approach. Using coconut oil gives a unique subtlety and a health boost. After many trials, I found that balancing the chocolate with just the right amount of coconut oil creates a silky texture that keeps the cups from being overly sweet while allowing the peanut butter filling to shine. These treats are perfect for snacking or sharing at gatherings!
In my quest to create the perfect homemade treat, I experimented with various ingredients until I landed on these delectable peanut butter cups. The marriage of creamy peanut butter and dark chocolate, enhanced by the richness of coconut oil, is truly a game-changer. I remember the first time I shared them with friends; they were blown away by how effortlessly they melted in your mouth.
Perfecting the ratio of chocolate to coconut oil took some trial and error, but I ultimately discovered that a bit of salt in the peanut butter filling perfectly balances the sweetness from the chocolate. It’s best to let them chill for a bit longer than expected to solidify completely—it makes all the difference in achieving that coveted snap!
Why You'll Love This Recipe
- Rich chocolate flavor paired with creamy peanut butter
- Smooth texture enhanced with coconut oil
- Easy to make and customize with your favorite nuts or flavors
Ingredient Spotlight: Coconut Oil
Coconut oil is a game changer in this recipe, adding not just healthy fats but also enhancing the mouthfeel of your peanut butter cups. When mixed with chocolate, it creates a glossy finish and a silky texture that’s difficult to achieve with butter or margarine. As a tip, make sure to use refined coconut oil for a neutral flavor, or opt for virgin coconut oil if you enjoy a subtle coconut taste in your treats.
In warm weather, coconut oil remains liquid, which can help if your mixture begins to solidify during prep. However, if you find your chocolate cooling too quickly, try warming your mixing bowl slightly in the microwave for 5-10 seconds before adding the chocolate mixture. This will help prevent it from seizing and ensure a smooth coating on your peanut butter cups.
Perfecting the Chocolate Coating
When melting chocolate, always use low heat and a double boiler setup if possible to avoid burning. If you don’t have one, a small saucepan can work, but be sure to stir often to distribute heat evenly. The key visual cue here is that the chocolate should be just melted and glossy, without any lumps remaining. Overheating can make it thick and unusable, so take it off the heat as soon as it’s fully melted.
To get an even chocolate coating, remember to tap the muffin tin gently on the counter after adding each layer. This helps the chocolate settle and eliminates any air bubbles, ensuring every cup has a smooth finish. If you accidentally under-coat a layer and some peanut butter is visible, don’t worry; you can always add a bit more melted chocolate on top to cover it before chilling.
Ingredients
For the Chocolate Coating
- 1 cup dark chocolate chips
- 3 tablespoons coconut oil
For the Peanut Butter Filling
- 1 cup creamy peanut butter
- 2 tablespoons honey (or maple syrup)
- 1/4 teaspoon salt
Make sure to measure accurately for the best results!

Instructions
Melt the Chocolate
In a small saucepan over low heat, combine the dark chocolate chips and coconut oil. Stir frequently until the mixture is smooth and well combined. Remove from heat and let it cool for a couple of minutes.
Prepare the Molds
Line a muffin tin with paper liners. Pour a spoonful of the melted chocolate into the bottom of each liner, ensuring it covers the base. Use a spoon to spread it evenly if needed.
Make the Peanut Butter Filling
In a mixing bowl, combine the creamy peanut butter, honey, and salt. Stir until smooth. Spoon a dollop of the peanut butter mixture into the centers of the chocolate-coated liners.
Final Chocolate Layer
Top the peanut butter filling with another layer of the remaining melted chocolate, making sure to cover it completely. Gently tap the muffin tin on the counter to level the chocolate.
Chill and Serve
Refrigerate the muffin tin for at least 2 hours or until the cups are fully set. Once set, remove from the molds and enjoy your homemade peanut butter cups!
Store any leftovers in an airtight container in the refrigerator!
Professionele Tips
- Feel free to experiment with different types of nut butters or add crushed nuts for some texture. Adjust the sweetness of the peanut butter filling to suit your taste.
Storage and Make-Ahead Options
Once your Homemade Peanut Butter Cups are set, they can be stored in an airtight container in the fridge for up to two weeks. This makes them perfect for preparing ahead of time, allowing you to indulge in a treat without all the last-minute effort. I like to make a larger batch on weekends and grab one or two throughout the week for a quick snack or dessert.
If you want to keep them for even longer, consider freezing the cups. Just wrap each one in wax paper or aluminum foil and place them in a freezer-safe bag. They can last up to three months in the freezer. When you’re ready to enjoy, simply let them thaw at room temperature for about 15-20 minutes; they'll taste just as good as fresh!
Customizing Your Cups
One of my favorite parts about this recipe is how easy it is to customize! Feel free to adjust the sweetness by using more or less honey or maple syrup in the peanut butter filling. For a crunchier texture, add some crushed salted peanuts into the filling for added depth, or incorporate chia seeds for a bit of nutritional boost without impacting flavor.
For a flavor twist, consider adding different extracts such as vanilla or almond to the peanut butter filling. You could also create a mixed batch where half the cups are plain peanut butter, and the other half feature additional mix-ins like mini chocolate chips or a sprinkle of sea salt on top of the final chocolate layer.
Vragen Over Recepten
→ Can I use milk chocolate instead of dark chocolate?
Absolutely! You can use milk chocolate, but remember it might make the cups sweeter.
→ How long do these peanut butter cups last?
They can last up to a week in the fridge, or you can freeze them for longer storage.
→ Is there a vegan alternative for the honey?
Yes, use maple syrup or agave nectar for a completely vegan option.
→ Can I make these without coconut oil?
You can substitute coconut oil with vegetable oil, but it won't have the same flavor and consistency.
Homemade Peanut Butter Cups with Coconut Oil
Gemaakt door: Isolde Bennett
Recepttype: Zelfgebakken Favorieten
Vaardigheidsniveau: Intermediate
Eindportie: 12 cups
Wat je Nodig Hebt
For the Chocolate Coating
- 1 cup dark chocolate chips
- 3 tablespoons coconut oil
For the Peanut Butter Filling
- 1 cup creamy peanut butter
- 2 tablespoons honey (or maple syrup)
- 1/4 teaspoon salt
Stappen
In a small saucepan over low heat, combine the dark chocolate chips and coconut oil. Stir frequently until the mixture is smooth and well combined. Remove from heat and let it cool for a couple of minutes.
Line a muffin tin with paper liners. Pour a spoonful of the melted chocolate into the bottom of each liner, ensuring it covers the base. Use a spoon to spread it evenly if needed.
In a mixing bowl, combine the creamy peanut butter, honey, and salt. Stir until smooth. Spoon a dollop of the peanut butter mixture into the centers of the chocolate-coated liners.
Top the peanut butter filling with another layer of the remaining melted chocolate, making sure to cover it completely. Gently tap the muffin tin on the counter to level the chocolate.
Refrigerate the muffin tin for at least 2 hours or until the cups are fully set. Once set, remove from the molds and enjoy your homemade peanut butter cups!
Extra Tips
- Feel free to experiment with different types of nut butters or add crushed nuts for some texture. Adjust the sweetness of the peanut butter filling to suit your taste.
Voedingswaarde (Per Portie)
- Calories: 250 kcal
- Total Fat: 18g
- Saturated Fat: 9g
- Cholesterol: 0mg
- Sodium: 130mg
- Total Carbohydrates: 20g
- Dietary Fiber: 2g
- Sugars: 13g
- Protein: 5g